Fresh Tenant Setup
These are the steps I typically take to set up a fresh M365 E5 tenant. This is not complete. I'm documenting this (finally) as I rebuild a new test tenant.
Entra ID
Azure AD Connect
Assuming you already have a Lab Domain Controller and Server for AAD Connect.
Install AAD Connect, use Express Settings

After it is finished, re-run and enable Hybrid Join


Enable Group Writeback
On the AzureAD Connect server, run the following commands to enable Group Writeback in Windows PowerShell
Set-ADSyncScheduler -SyncCycleEnabled $false
Set-ADSyncAADCompanyFeature -GroupWritebackV2 $true
Set-ADSyncScheduler -SyncCycleEnabled $true
Start-ADSyncSyncCycle -PolicyType Initial
Hybrid Cloud Trust
Create EntraID Kerberos Server
# Specify the on-premises Active Directory domain. A new Azure AD
# Kerberos Server object will be created in this Active Directory domain.
$domain = "contoso.com"

# Enter a UPN of an Azure Active Directory global administrator
$userPrincipalName = "admin@contoso.com"

# Enter a domain administrator username and password.
$domainCred = Get-Credential

# Create the new Azure AD Kerberos Server object in Active Directory
# and then publish it to Azure Active Directory.
# Open an interactive sign-in prompt with given username to access the Azure AD.
Set-AzureADKerberosServer -Domain $domain -UserPrincipalName $userPrincipalName -DomainCredential $domainCred

# Verify server
Get-AzureADKerberosServer -Domain $domain -DomainCredential $domainCred -UserPrincipalName $userPrincipalName

Id                 : 17530
UserAccount        : CN=krbtgt_AzureAD,CN=Users,DC=contoso,DC=com
ComputerAccount    : CN=AzureADKerberos,OU=Domain Controllers,DC=contoso,DC=com
DisplayName        : krbtgt_17530
DomainDnsName      : contoso.com
KeyVersion         : 27591
KeyUpdatedOn       : 10/13/2022 9:23:43 PM
KeyUpdatedFrom     : CONTOSO-DC-01.contoso.com
CloudDisplayName   : krbtgt_17530
CloudDomainDnsName : contoso.com
CloudId            : 17530
CloudKeyVersion    : 27591
CloudKeyUpdatedOn  : 10/13/2022 9:23:43 PM
CloudTrustDisplay  :
Entra
Identity Protection
Self Service Password Reset
[ Portal]
 Docs
Docs
- Enable Self service password reset
- Target a group that excludes service accounts.
Authentication Methods
- Enable FIDO2, Authenticator, Temporary Access Pass in Authentication Methods
- Disable verification options in the legacy MFA settings portal

- Disable Authentication methods in SSPR Authentication Methods
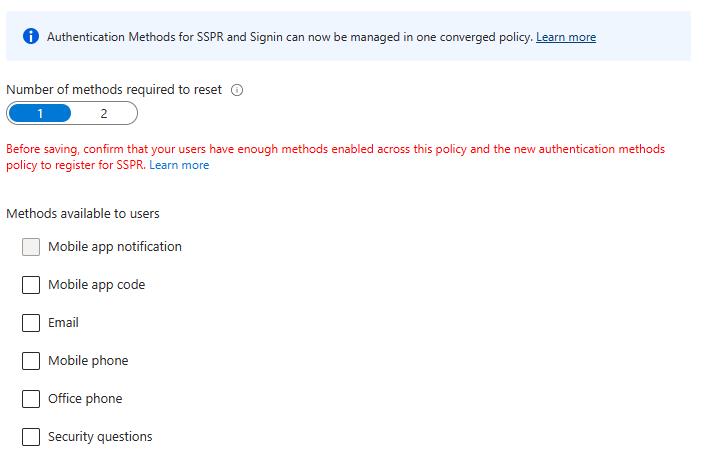
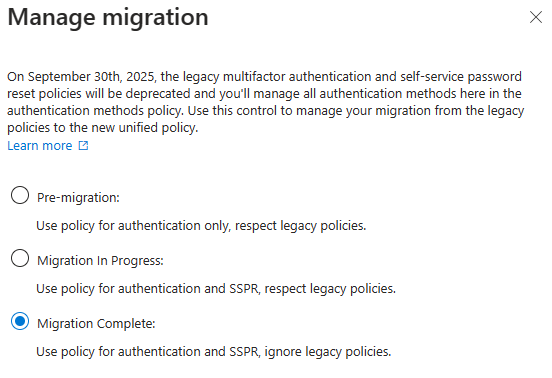
- Migrate to the Converged Authentication Methods Policy
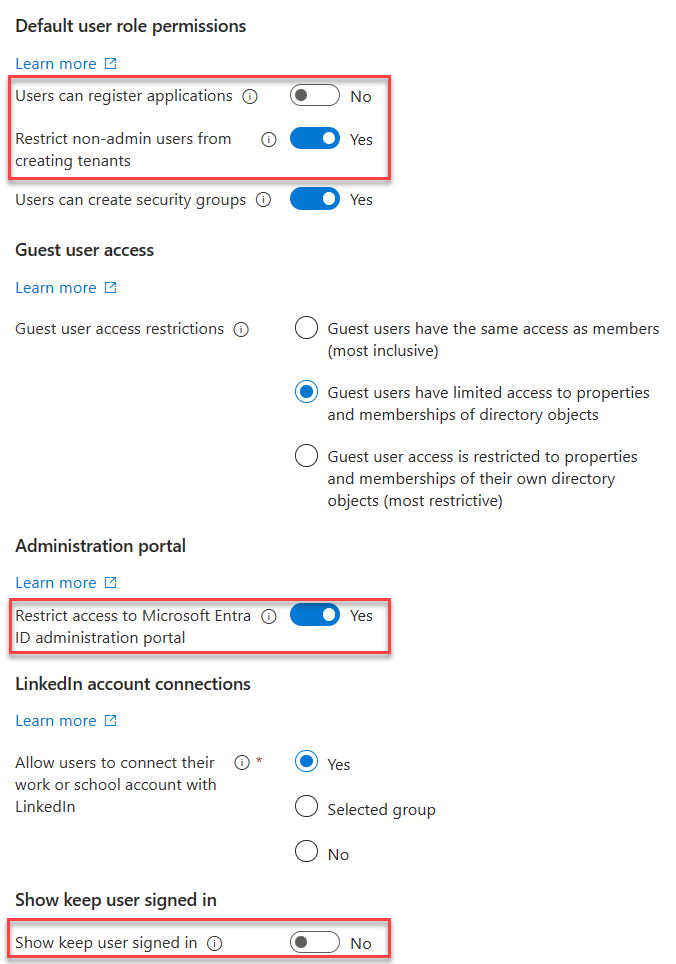
User Settings
- Toggle Off
- Users can register Applications
- Show keep user signed in
- Toggle On
- Restrict non-admin users from creating tenants
- Restrict access to Entra ID administration portal
User Feature Settings
- Select All for Users can use preview features for My Apps
Device Settings
Cloud LAPS
- Enable LAPS

Enterprise State Roaming
- Enable Enterprise State Roaming

Identity Protection
Multifactor authentication registration policy
- Create a AAD group called Service Accounts, add the AzureAD Connect sync account
- Enable the policy, targeting all users and excluding
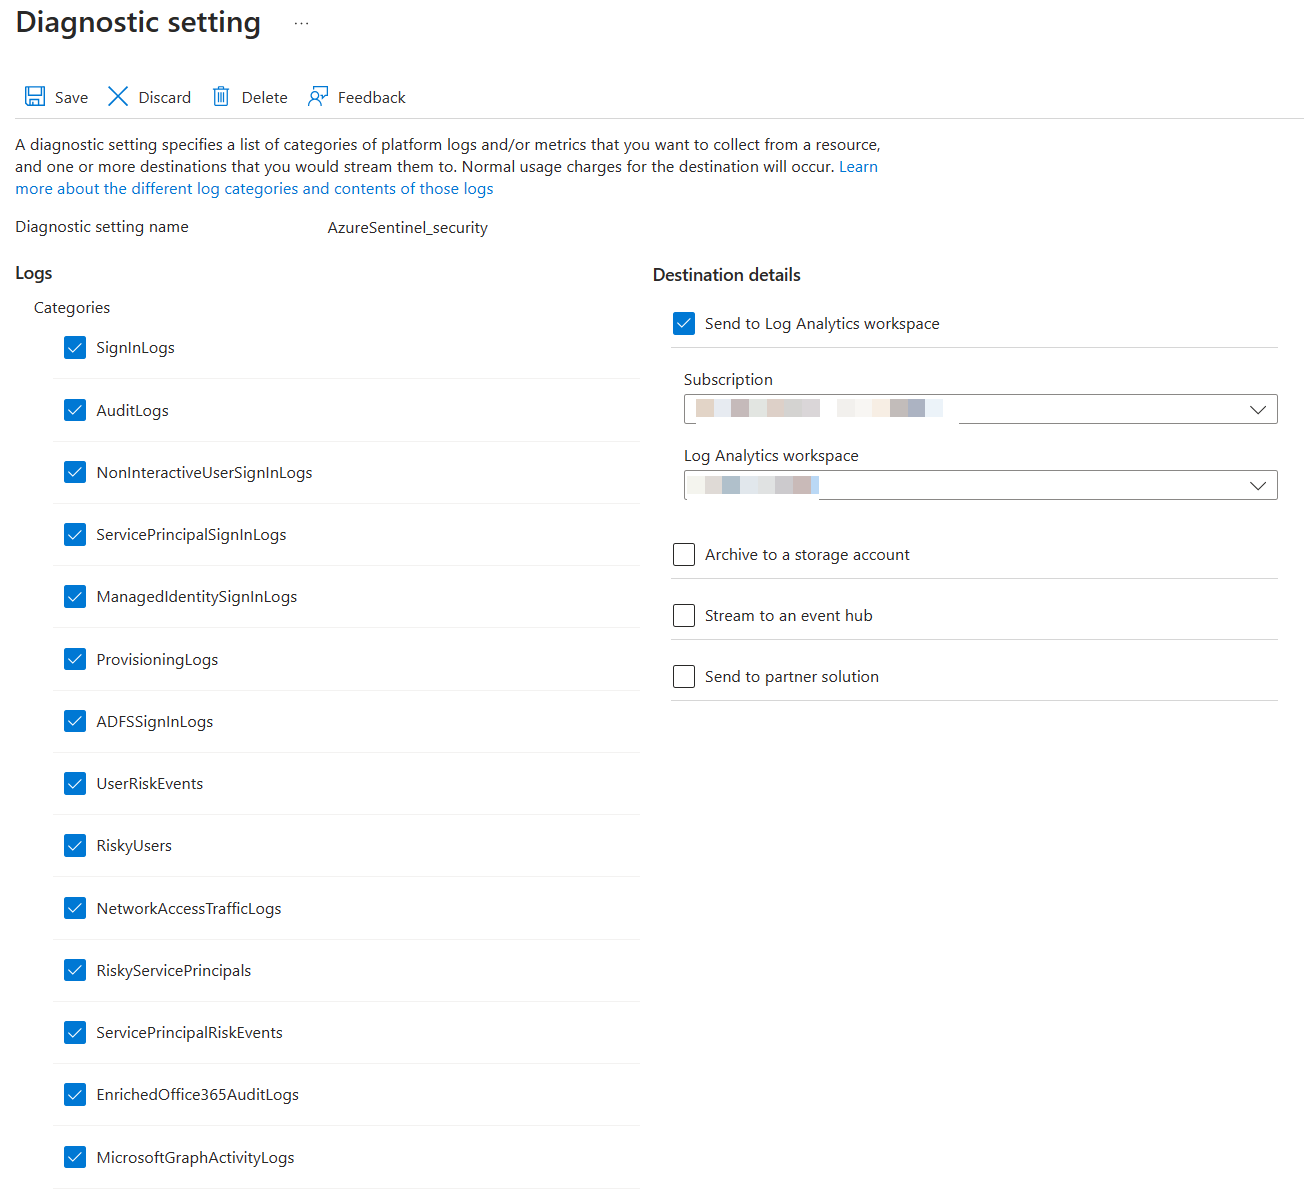
Diagnostic Settings
- Enable all diagnostic settings to log to your Sentinel's log analytics workspace
Global Secure Access
Internet Access
- Enable the M365 Profile

- Download the GSA Client and deploy to Windows devices.
Intune
Tenant Administration Settings
Defender for Endpoint Connector
- Enable compliance policy evaluation for all platforms
- Enable app sync
- Enable App protection policy evaluation

Devices
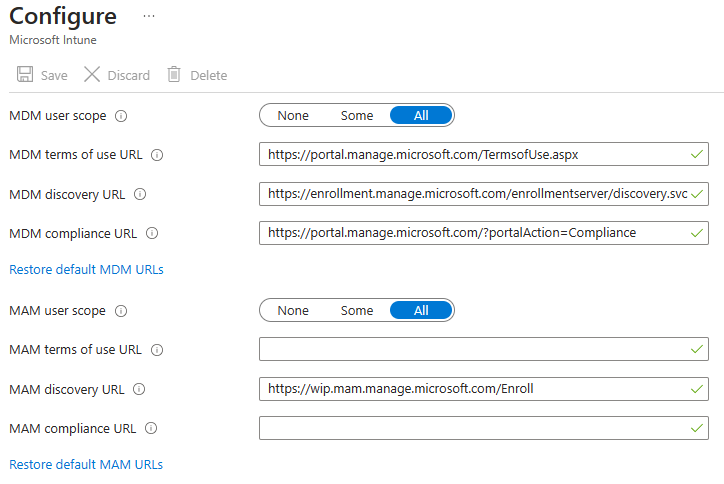
Windows Automatic Enrollment
- Set MDM and MAM user scopes to all
Windows Autopilot
- Create a new Autopilot deployment profile


iOS Enrollment
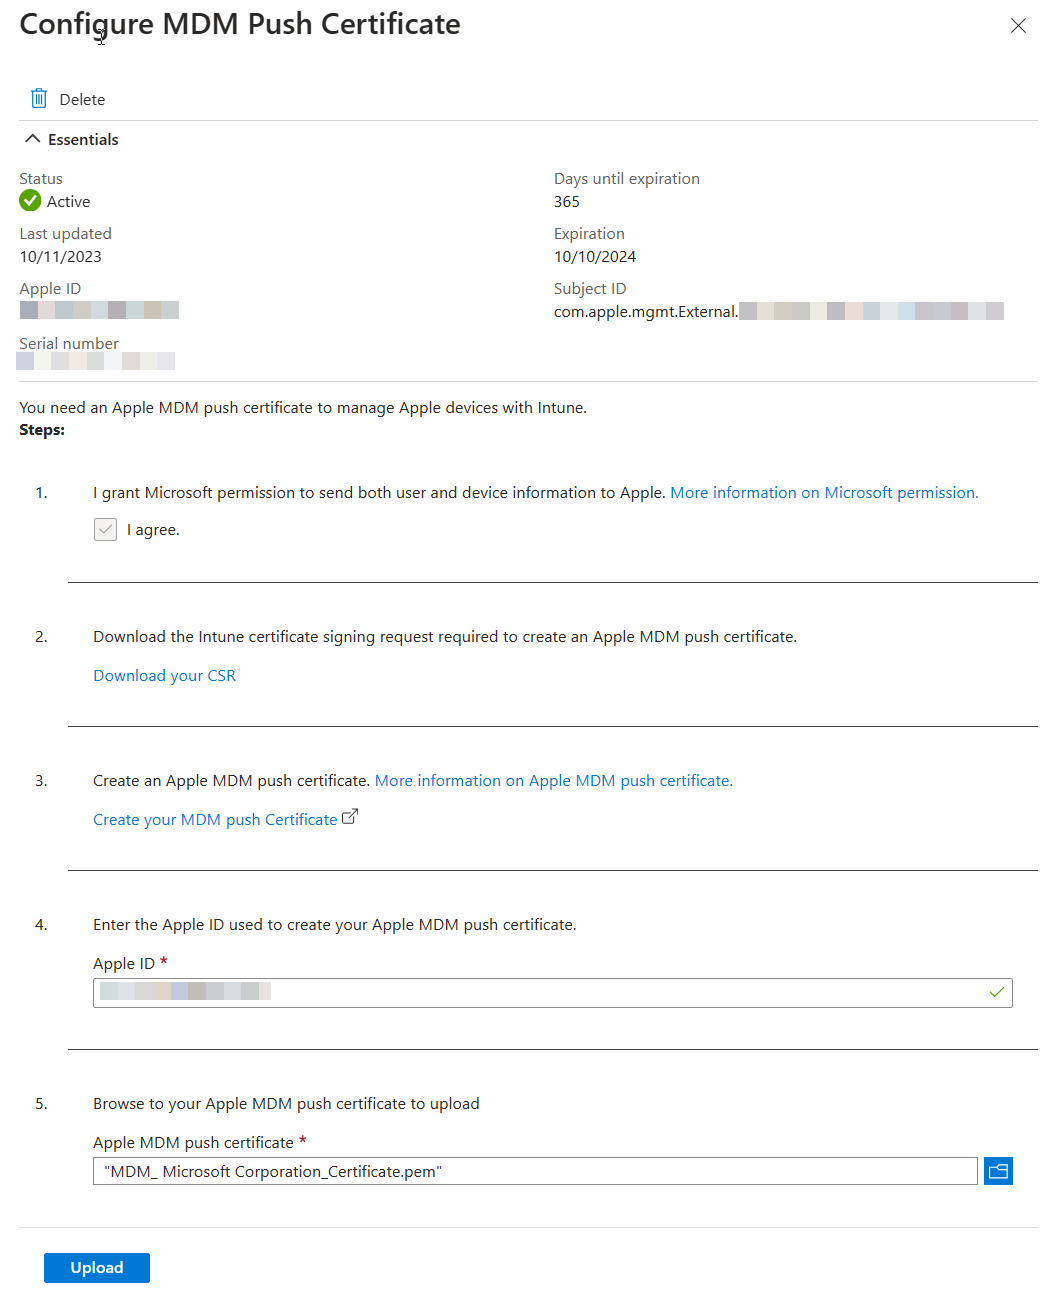
User-driven iOS enrollment is a two step process - the push certificate and the enrollment profile.
Configure Apple MDM Push Certificate
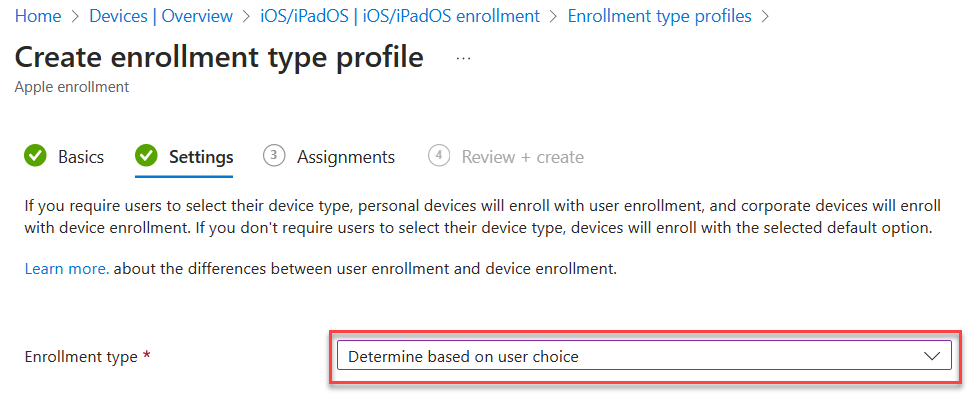
Enrollment Profile
- Configure an enrollment profile
- Create a profile that allows user choice of type of device (corporate vs user), target all users.
- Create a profile that allows user choice of type of device (corporate vs user), target all users.
Supervised iOS Enrollment with Apple Configurator
Portal
Docs
There are two options for Apple Config profile - with user affinity and without. For testing, enrollment with User Affinity with the Company Portal app mimics how devices might be distributed to end users.
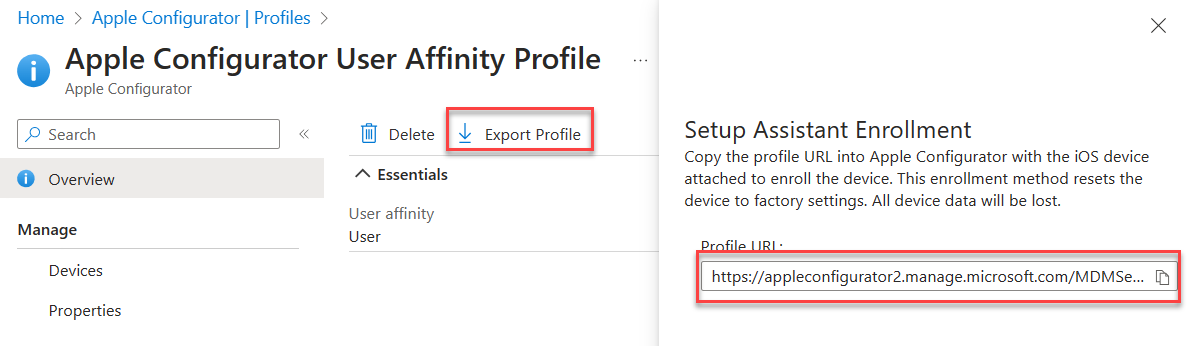
1. Create a new Enrollment Profile. On the settings step, select:
User affinity: Enroll with User Affinity
Select where users must authenticate: Company Portal
2. Export the profile you just created. Copy the URL.
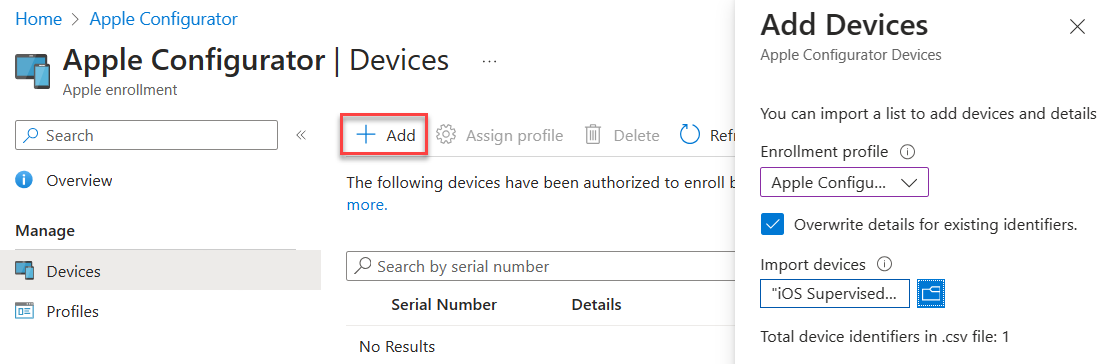
 3. Create a csv file with the serial numbers of iPads you wish to enroll.
Serial number,device details
4. Upload the csv file in the portal under Devices. Assign the profile you just created.
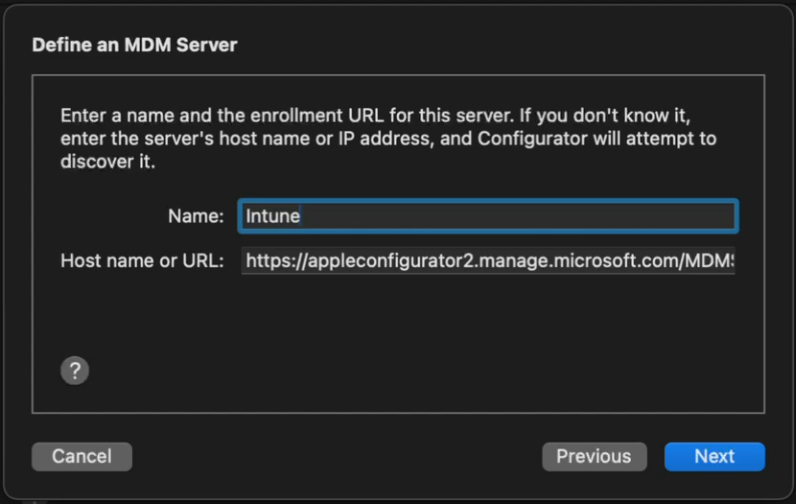
 5. In Apple Configurator, choose Settings -> Servers. Click + to add a server. Add the URL you copied from step 2.
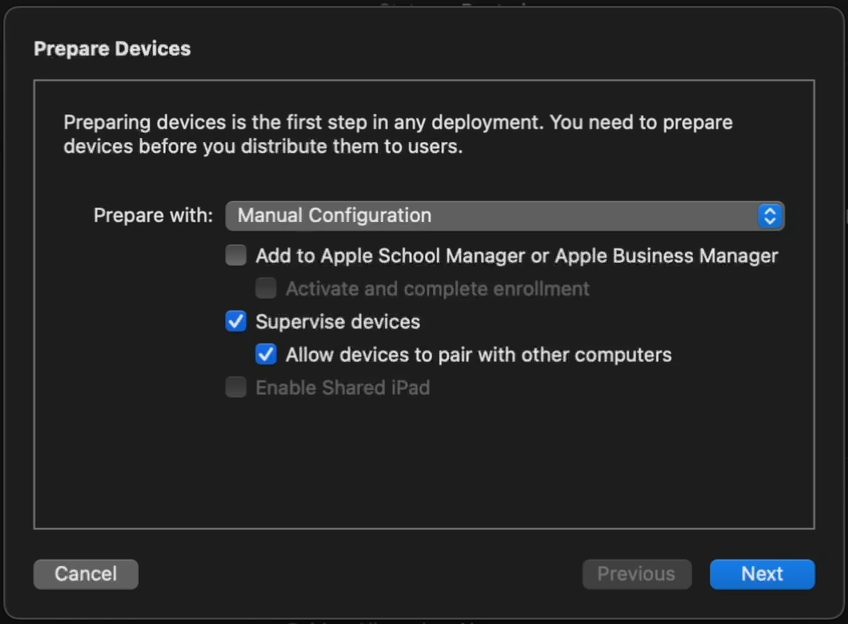
 6. Connect a device, and at the main screen, click Prepare. Leave the default options unchanged.
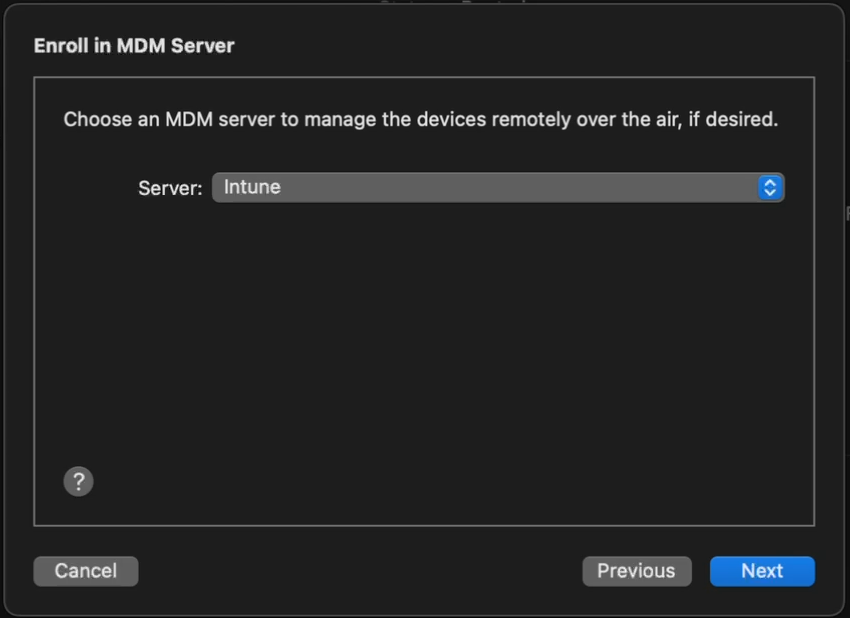
 7. Choose the Intune MDM server defined in Step 5.
 8. Skip Apple Business Manager sign-in if prompted. At the Organization screen select a previous org or create a new one. This is shown in the settings app in iOS.
9. Choose to generate a new supervision Identity or reuse an existing one.
10. Choose which steps to display in the Setup Assistant. Click Prepare to start the process.
8. Skip Apple Business Manager sign-in if prompted. At the Organization screen select a previous org or create a new one. This is shown in the settings app in iOS.
9. Choose to generate a new supervision Identity or reuse an existing one.
10. Choose which steps to display in the Setup Assistant. Click Prepare to start the process.
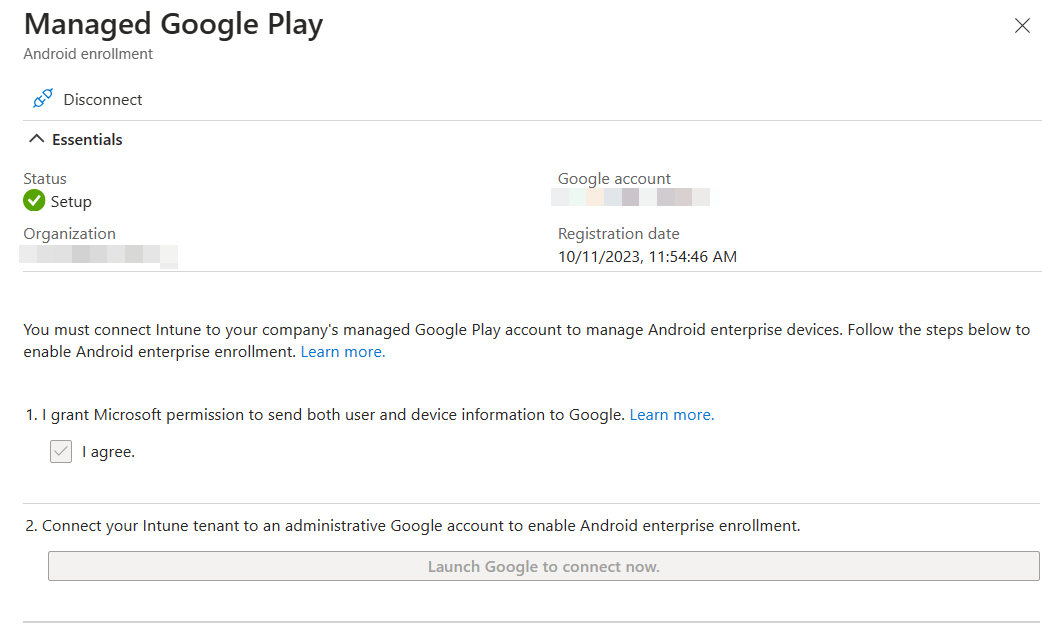
Android Enrollment
User-driven Android enrollment is a two step process - the managed Google Play account linking and the enrollment profile.
Managed Google Play Account Linking
Applications
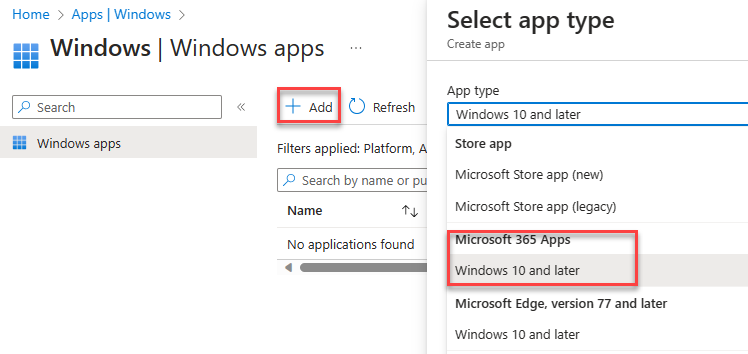
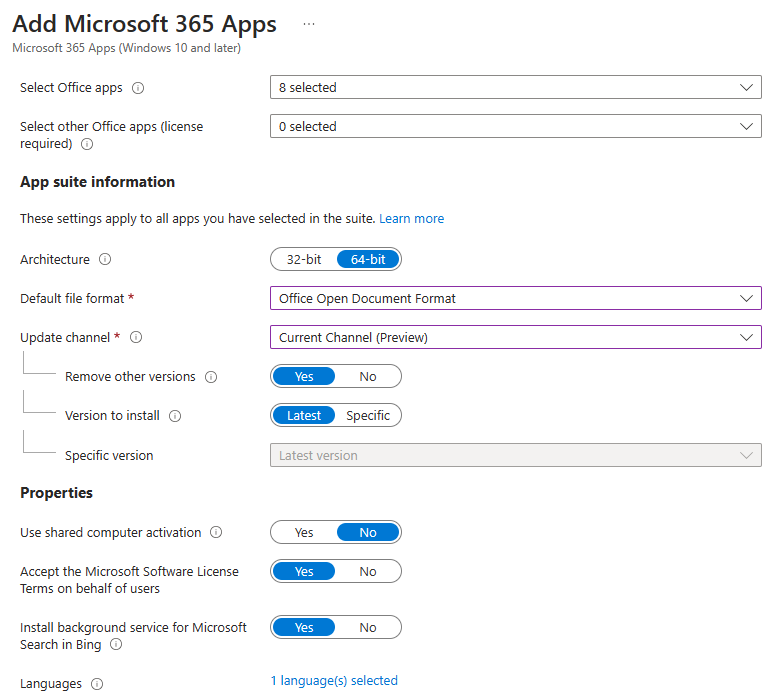
Windows
Add app -> Microsoft 365 Apps for Windows 10 and Later. Assign to all devices.
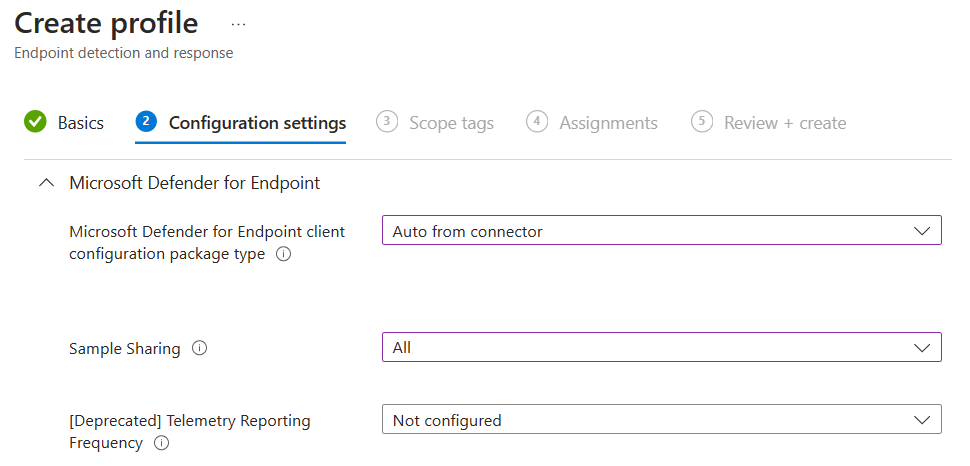
Endpoint security
Windows
Under Endpoint Detection and Response, create a new policy targeting Windows 10,11 and Server. Target all devices.

MacOS
Deploying MDE on MacOS is a multi-step manual process, and changes occasionally. Refer to Intune-based deployment for Microsoft Defender for Endpoint on Mac - Microsoft Defender for Endpoint | Microsoft Learn for the most current steps.
The config files for MDE on Mac and Linux are in this GitHub repo.
- Approve system extensions
- Deploy the combined mobileconfig file from the repo to simplify policies.
- Deploy the Microsoft AutoUpdate config file from the repo
- Deploy the MDE Preferences config file from the repo to enable Endpoint DLP.
- Deploy the Defender App via Intune
- Deploy the MDE onboarding package
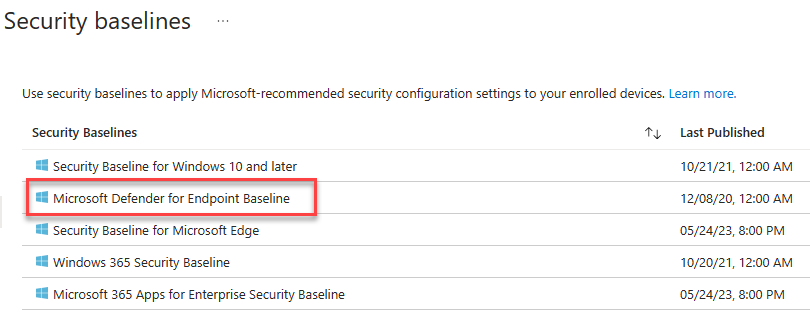
Security Baselines
Create a new Microsoft Defender for Endpoint Baseline policy and target all devices.
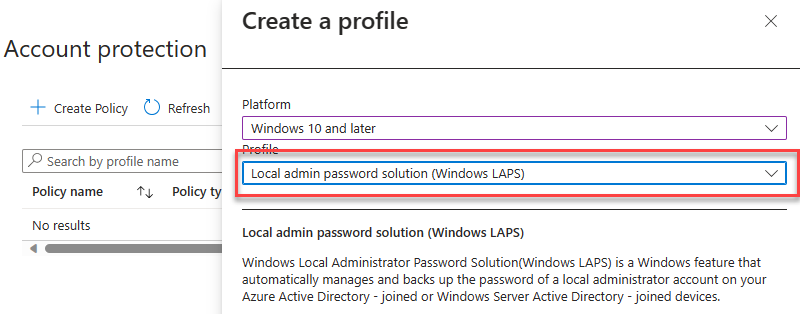
Account Protection
After enabling LAPS in Entra, create a Windows LAPS profile and apply to all devices.

M365 Defender
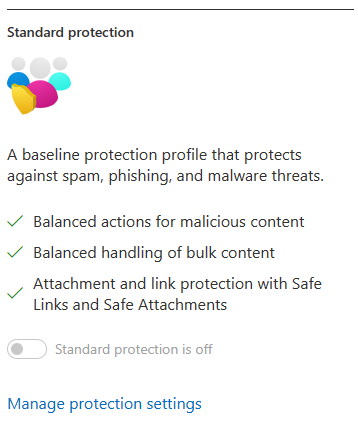
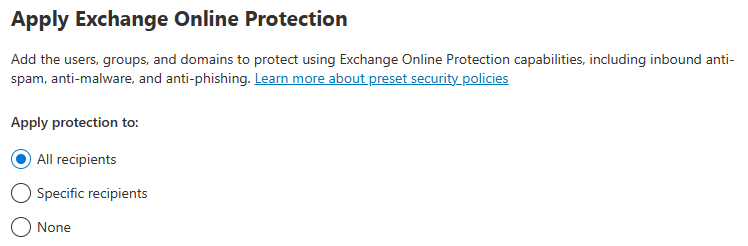
Email & collaboration
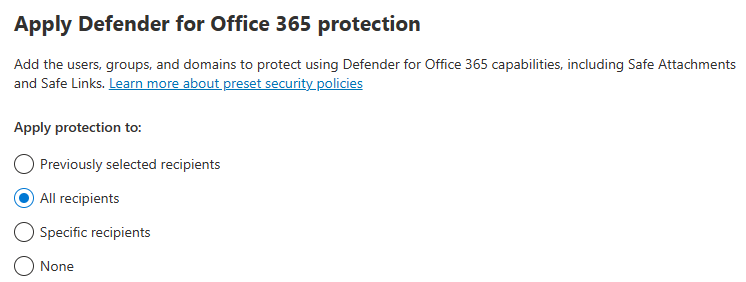
Policies & Rules -> Threat Policies -> Preset Security Configurations
Enable Standard Protection Preset Policies.
MDCA
In the Defender Portal, go to Settings -> Cloud Apps
System
Preview Features
- Toggle Enable
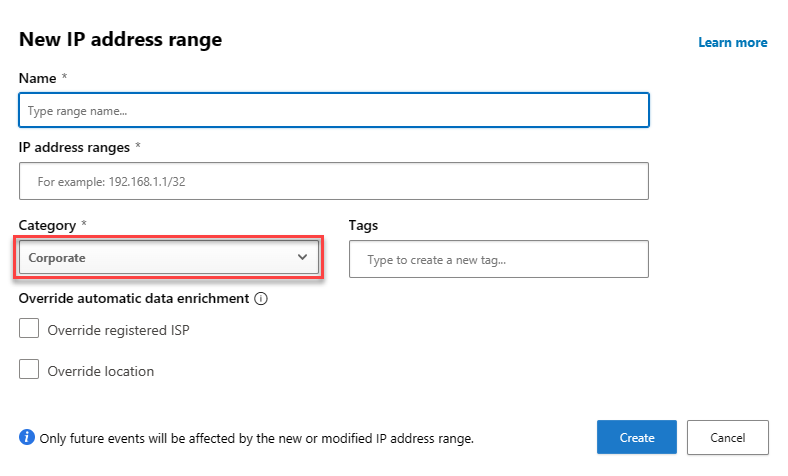
IP address Ranges
- If you have IP Ranges as Trusted Named Locations in EID, add them as Custom IP Address Ranges in MDCA with the category of Corporate
Cloud Discovery
Defender for Endpoint
- Enforce App Access with Defender for Endpoint

User Enrichment
- Enable User Enrichment

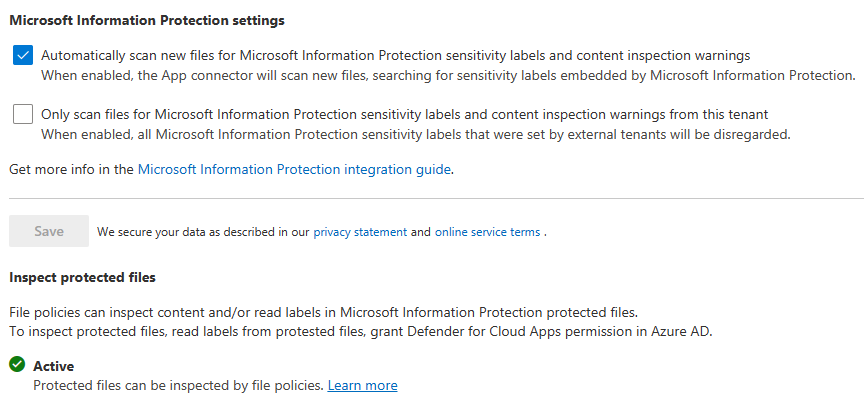
Information Protection
Microsoft Information Protection
- Enable automatically scan new files
- Enable scanning protected files. You'll need to go through the OAUTH grant process.
Files
- Enable file monitoring

App governance
Service Status
- Turn on app governance

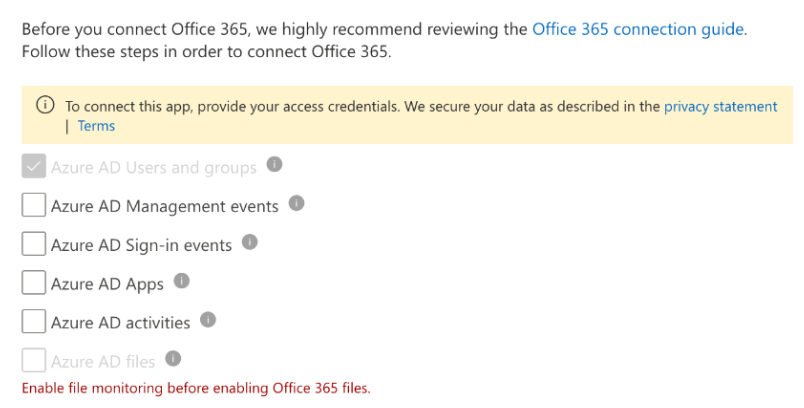
Connected Apps
App Connectors
- Hit Connect an app, choose Microsoft 365 from the list. Select all options.
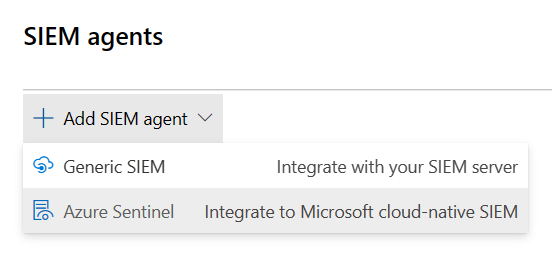
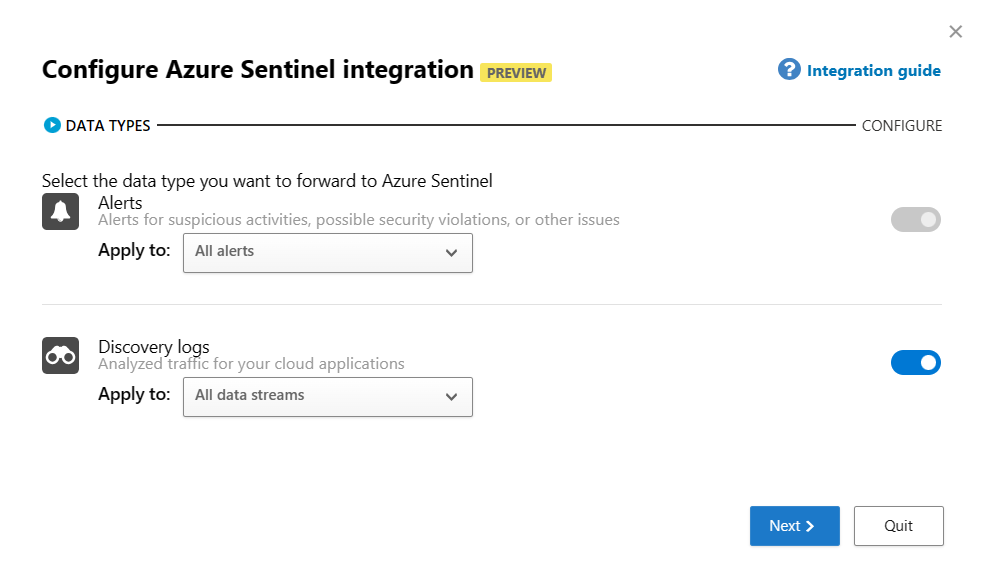
SIEM Agents
- Add the Azure Sentinel integration
MDE
In the Defender Portal, go to Settings -> Endpoints
Advanced Features
Set the features configured below

Defender for Identity (MDI)
General
In the Defender Portal, go to Settings -> Identities
Sensors
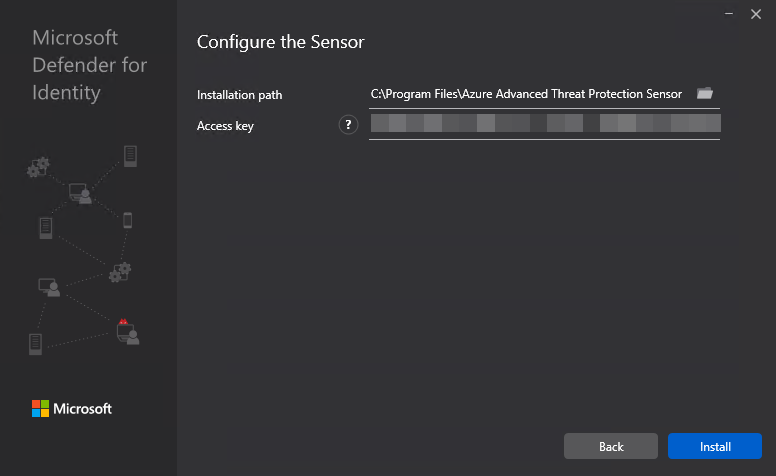
Click +Add Sensor, and download the installer and copy the Access key
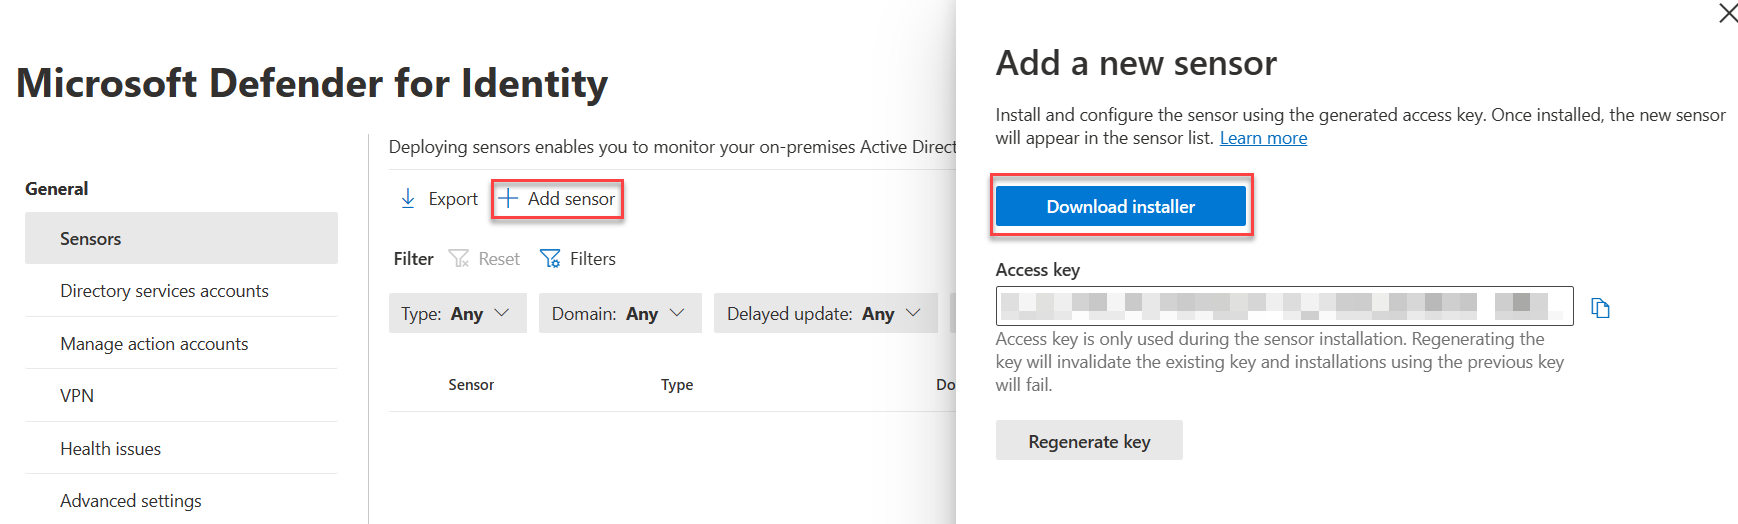
Install the sensor on all DCs in AD. Use the access key when prompted by the installer.
After installing, configure the Active Directory requirements listed below.
AD Configuration
- Configure Event Collection via GPO
- Configure Group Managed Service Account account
- On the first DC
- Create root KDS key
powershell Add-KdsRootKey -EffectiveTime ((get-date).addhours(-10)) - Purge kerberos tickets
powershell klist purge -li 0x3e7 - Create the gMSA ``` powershell New-ADServiceAccount accountname -PrincipalsAllowedToRetrieveManagedPassword "Domain Controllers" -DNSHostName accountname.domain.contoso.com
- Create root KDS key
- On the other DCs, purge kerberos tickets and install the service account
- Add the gMSA in the portal

- On the first DC
Microsoft Purview
Device Onboarding
 Windows
- Enable Windows and Mac device onboarding. This requires MDE.
Sensitivity Labels
Enable labeling for Protected content & PDFs
With the SharePoint Module in PowerShell 5
connect-sposervice -url 'https://<tenant>-admin.sharepoint.com/'
Set-SPOTenant -EnableAIPIntegration $true
Set-SPOTenant -EnableSensitivityLabelforPDF $true
Enable Labeling for Containers
In a fresh tenant, there will not be any EntraID group settings configured, so those need to be created. After that, you can enable the label sync.
With the AzureADPreview module in Windows PowerShell (PS5)
Connect-AzureAd
$TemplateId = (Get-AzureADDirectorySettingTemplate | where { $_.DisplayName -eq "Group.Unified" }).Id
$Template = Get-AzureADDirectorySettingTemplate | where -Property Id -Value $TemplateId -EQ
$setting = $Template.CreateDirectorySetting()
$setting["EnableMIPLabels"] = "True"
New-AzureADDirectorySetting -DirectorySetting $Setting
Then, with the ExchangeOnlineManagement module in PS5/PS7+
Enable co-authoring for Encrypted Files
This can be done in the portal, or via PowerShell.
With the ExchangeOnlineManagement module in PS5/PS7+
DLP
Endpoint DLP
Settings
In Settings, change the following:
- Advanced classification scanning and protection: On
MIP Scanner
Prerequisites - Service account in AD, exclude from MFA registration and CAs - SQL server for the scanner, as well as a windows server.
Deployment
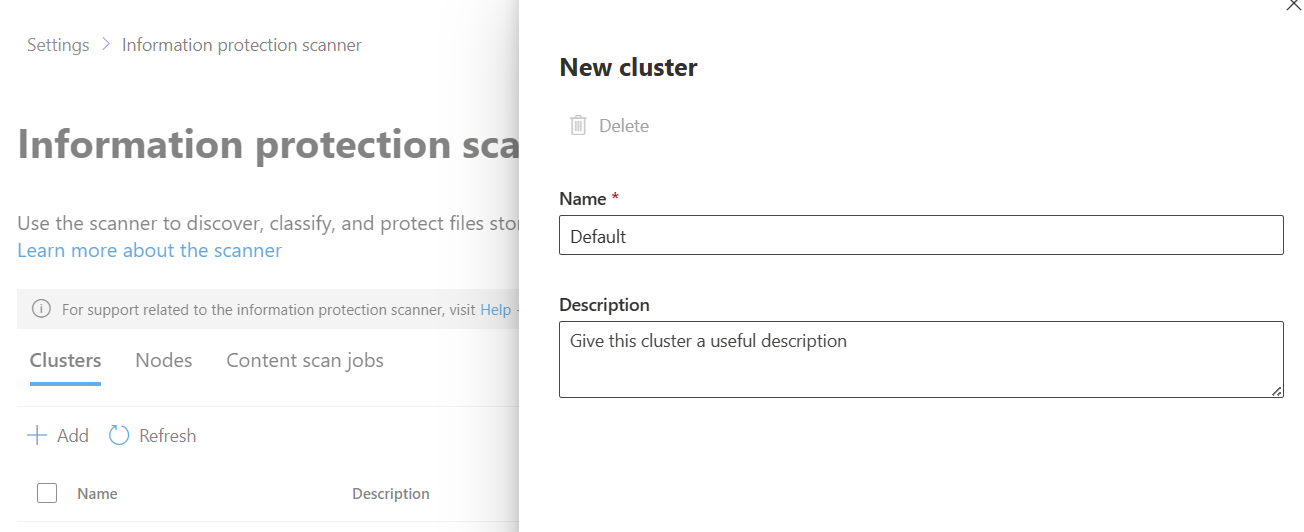
1. Create a Scanner Cluster
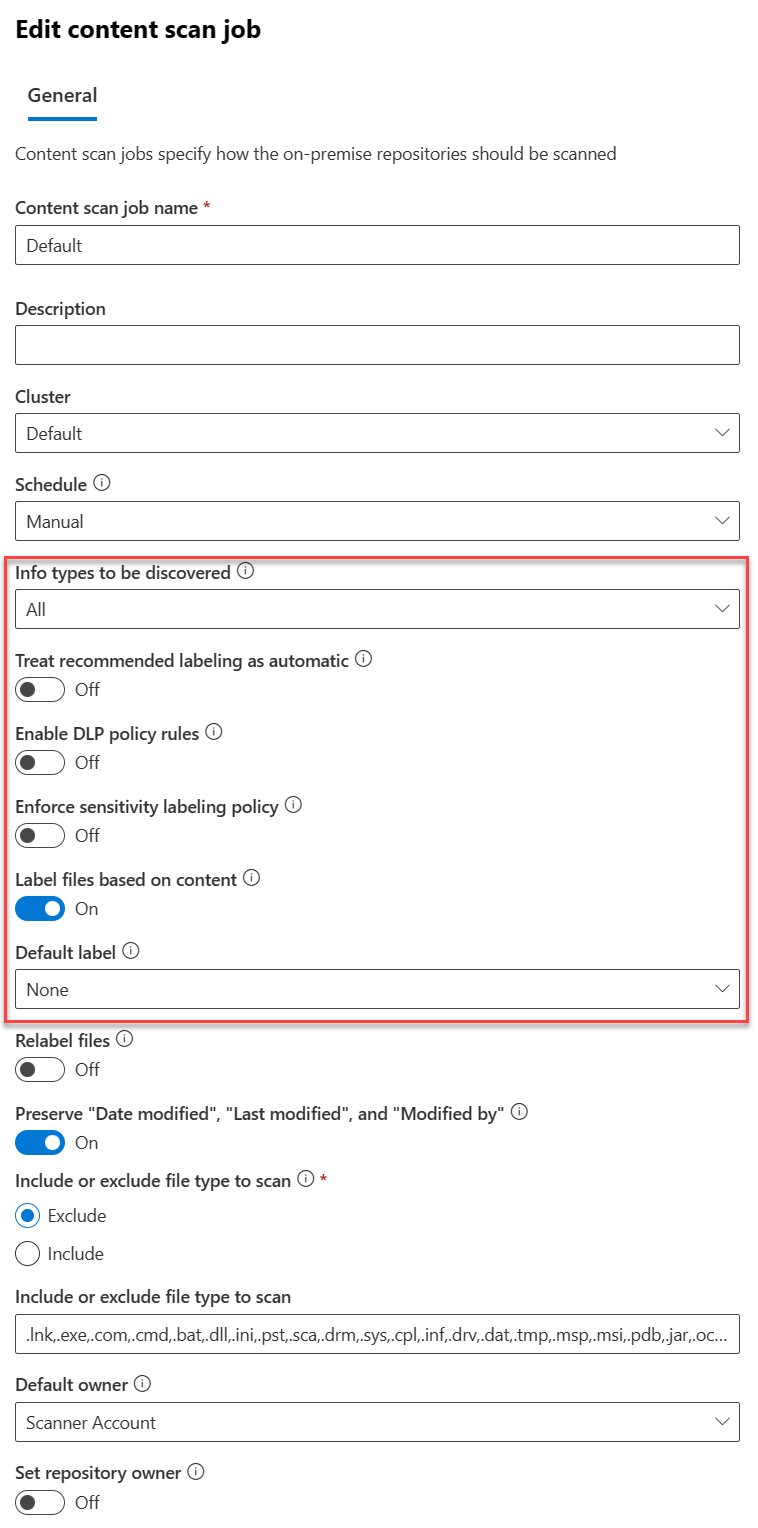
 2. Create a Content Scan Job. Be sure to disable any of the auto options - this will just be for scanning.
Exact Data Match
EDM SIT
- Create a new EDM SIT. Since I work in healthcare, I typically use Synthea to generate patient records. We do have sample industry files you can use.
- Make note of the datastrore name when you finish the EDM wizard. You'll need it for the EDM uploader.
EDM Uploader Tool
- Create a service account for the EDM upload agents to run as.
- Create a EntraID security group named
EDM_DataUploadersand add the service account to it. - Install the EDM upload tool to
c:\EDM - Place sample data in
c:\EDM\Data - Save the schema
.\EdmUploadAgent.exe /SaveSchema /DataStoreName your_data_store_name /OutputDir c:\edm\data - Create
c:\EDM\hash - Upload the data
.\EdmUploadAgent.exe /uploaddata /datastorename your_data_store_name /datafile C:\edm\data\your_data.csv /hashlocation c:\edm\hash /schema C:\edm\data\your_data_store_name.xml /allowedbadlinespercentage 5
Insider Risk Management
Roles
Add your account to the Insider Risk Management role.
Browser Activity Plugins
- Deploy the Edge profile via Intune as described here
- Deploy the Chrome profile via Intune as described here
Settings
Policy Indicators
- Select all indicators under the following categories
- Office
- Device
- Microsoft Defender for Endpoint
- Risky Browsing
- Microsoft Defender for Cloud Apps
Analytics
- Toggle analytics on
Polices
- Create a Data Leaks policy from the template
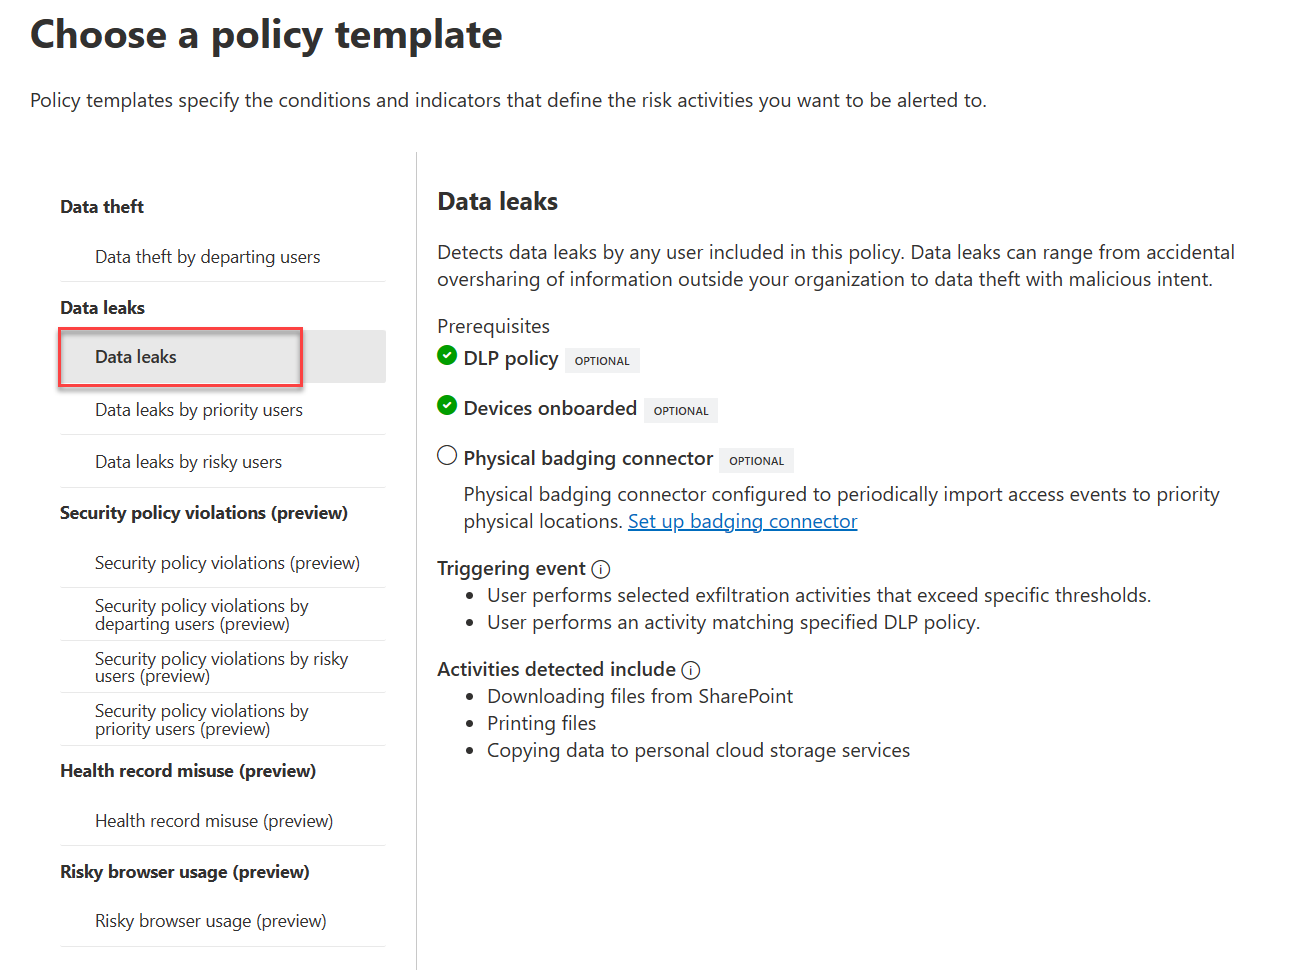
- Target all users
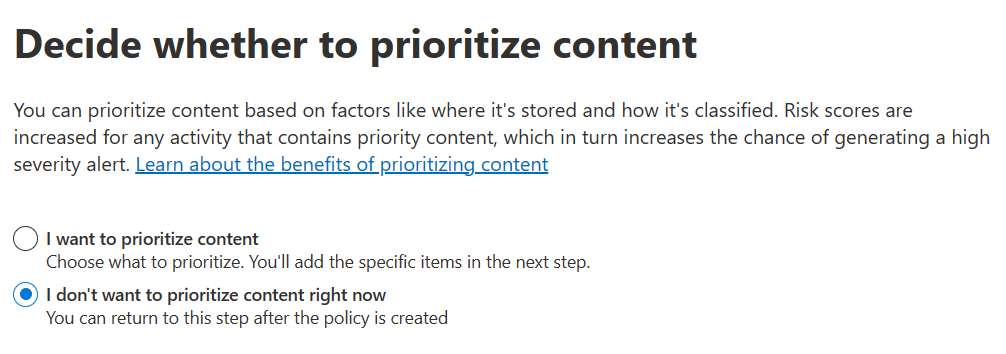
- Choose not to prioritize content.
- For triggering events, choose
User performs an exfiltration activity - For thresholds, choose
Apply built-in thresholds. - For indicators, leave the default ones checked.